Proton Hyperion Setup in 2025 Part 1
Scant Documentation
The documentation that exists explaining how to set up a Hyperion state history node is incredibly outdated, with the last revision being in 2020. I figured that it would be helpful to document the process of setting this up. Surely, that will save someone some serious hassle.
The intended audience of this article is a Linux administrator with basic knowledge of nodeos, aka LEAP (or SPRING in the case of native EOS). Because the only people reading this will surely already know their way around a POSIX compliant shell, I will skip over providing copy and paste code for some of the really easy stuff like extracting a tarball. If you can't do that or don't know what a tarball is, you are on the wrong website. However, if you, like myself, wanted to contribute to the Proton Chain ecosystem by running Hyperion state history node, congratulations, thank you, welcome to the XPR community (never to be confused with XRP – blasphemy!!!), and I do hope that this tutorial will save you as much time as it would have saved me.
System Requirements
Out of all of the dedicated servers that you'll need in order to successfully become a block producer on the XPR/Proton chain network, your Hyperion infrastructure will be the most expensive. If you're not prepared to spend $250+ a month on another dedicated server, just forget it.
Other than the massive storage needss, the specifications are about the same as your API or BP node, except you'll want ideally 128 gigs of RAM (to be super future proof), or at least 64 gigs – 32 is not quite enough for a state history node, unlike a producer node.
Interesting note about producer nodes: despite the high RAM requirements, my producer never uses more than 20% of it's RAM. Even that is rare. Nor does it use more than perhaps 10% of it's CPU, but good Lord, don't think that means you can cheap out and downgrade! For whatever reason, your producer needs to be badass as Batman, and I recommend running the most powerful intel CPU you can afford (within reason) for the producer (at LEAST, 8 cores at around 4 gigahertz, 16 is better!).
You'll of course want a powerful CPU, preferably an Intel but AMD's will work, just make sure you have at least 8 physical cores, and really I'd recommend at least 12. In my experience, Intel CPU's are always going to offer better performance no matter what you're doing. I highly recommend using an Intel for your producer node, however, you can save a little money and opt for an AMD CPU for your Hyperion node, as it's not as mission critical as the thing that actually produces the blocks is.
Finally, you'll need as much storage as possible. I was told that as of this moment, which is late October of 2025, a Hyperion node takes up 2 TB of space. So you'll definitely want at least a 4 TB (8 would be even better, as it will only ever grow as time goes on), separate NMVE drive to store your `state-history` and `blocks` directories, as well as at least a 1 TB NVME for your base system, perhaps 2 TB would be better here as well, because you may want space to provide state history archives for download. For the larger disc, make sure you're using at least RAID-1 and configure ZFS to optimize performance.
Setting up the separate data volume
In my case, I had two NVME's in RAID1 to set up:
/dev/nvme2n1
/dev/nvme3n1
- Install ZFS
sudo apt-get install zfsutils-linux
- Locate the Disk 2 device name
lsblk
- Create ZFS Pool called "datavolume" on device "sdb"
sudo zpool create datavolume mirror /dev/nvme2n1 /dev/nvme3n1
Verify status
zpool status
  pool: datavolume
 state: ONLINE
config:
        NAME          STATE     READ WRITE CKSUM
        datavolume    ONLINE
          nvme2n1     ONLINE
          nvme3n1     ONLINE
Configure various ZFS settings for optimization
-
Enable compression and disable access time updates
 sudo zfs set compression=lz4 datavolume
 sudo zfs set atime=off datavolume
-
Set ARC caching mode
sudo zfs set primarycache=all datavolume
-
Set the main mountpoint
sudo zfs set mountpoint=/data/hyperion datavolume
-
Now create sub-datasets
sudo zfs create -o mountpoint=/data/hyperion/blocks datavolume/blocks
sudo zfs create -o mountpoint=/data/hyperion/state-history datavolume/state-history
- Disable compression on state-history:
sudo zfs set compression=none datavolume/state-history
Verify status:
zfs get mountpoint,compression,atime,primarycache datavolume
zpool status
You should see something like this again:
zpool status
NAME        PROPERTY      VALUE           SOURCE
datavolume  mountpoint    /data/hyperion  local
datavolume  compression   lz4             local
datavolume  atime         off             local
datavolume  primarycache  all             local
  pool: datavolume
 state: ONLINE
config:

	NAME         STATE     READ WRITE CKSUM
	datavolume   ONLINE       0     0     0
	  mirror-0   ONLINE       0     0     0
	    nvme2n1  ONLINE       0     0     0
	    nvme3n1  ONLINE       0     0     0

errors: No known data errors
The ZFS filesystem will reduce wear on the NVME discs and help conserve space, if I understand correctly. Now, set up nodeos like you normally would. I like to create a new user and place the home directory of that user in /opt/xpMainNet.
Configure Nodeos (LEAP)
- Verify binary's integrity and then install (recommended)
Import the maintainer keys (run as root)
cd /tmp
wget https://github.com/arhag.gpg
gpg --import arhag.gpg
wget https://github.com/ericpassmore.gpg
gpg --import ericpassmore.gpg
wget https://github.com/spoonincode.gpg
gpg --import spoonincode.gpg
wget https://github.com/AntelopeIO/leap/releases/download/v5.0.3/leap_5.0.3_amd64.deb
wget https://github.com/AntelopeIO/leap/releases/download/v5.0.3/leap_5.0.3_amd64.deb.asc
gpg --verify leap_5.0.3_amd64.deb.asc leap_5.0.3_amd64.deb
-
You should see several GOOD SIGNATURE messages, indicating the binary's integrity has been confirmed.
-
Proceed with installation (as root)
apt install ./leap_5.0.3_amd64.deb
useradd -m /opt/XPRMainNet -s /bin/bash eos
usermod -a -G sudo eos
passwd eos # set a strong pass. remove sudo from user after we're done
- As user eos now
su eos
cd /opt/XPRMainNet && git clone https://github.com/XPRNetwork/xpr.start.git ./
- Now symlink the /data/state-history and /data/blocks to your data directory and proceed as normal like your setting up a non-producing node
Next, we'll enable the state history plugin & sync from a backup. Ultimately, you want the entire history of the blockchain on your node. It can take a long time to generate that data from scratch, so ideally you want to download archives of the state-history, block logs , and then finally you need a snapshot that was taken before the height of the block log that matches the state-history. By the way, make sure you delete blocks/reversible from the archive, because that doesn't happen automatically for some reason.
You can get a state history archive from bloxprod's website taken on October 18th, 2025 as of the time I wrote this, and saltant has a snapshot from July, 2025 as well. I downloaded the statehistory.xz and blocks.xz from the aforementioned, respective sites, extracted them into my symlinked ZFS volume directories, as well as the earlier snapshot from July, took a deep breath, and started nodeos with the snapshot flag, and my history node started synchronizing. It only took about 3 hours to catch up to the present.
Grab the state history and blocks archives with wget or curl:
Grab the July snapshot with wget or curl:
Extract the archives in their respective directories, data/blocks, data/state-history, and snapshots/snapshot.bin.
If the resources above don't work whenever you're reading this, find us on telegram in the block producers chat and we will assist you. Start nodeos with the --snapshot option. Apparently, it's no longer necessary to provide the flags that disable replay optimization.
I recommend configuring everything via the ini file except the snapshot, which must be provided from the command line. Finally, start her up and wait for synchronization to occur.
./start.sh --snapshot snapshots/snapshot.bin
tail -f stderr.txt
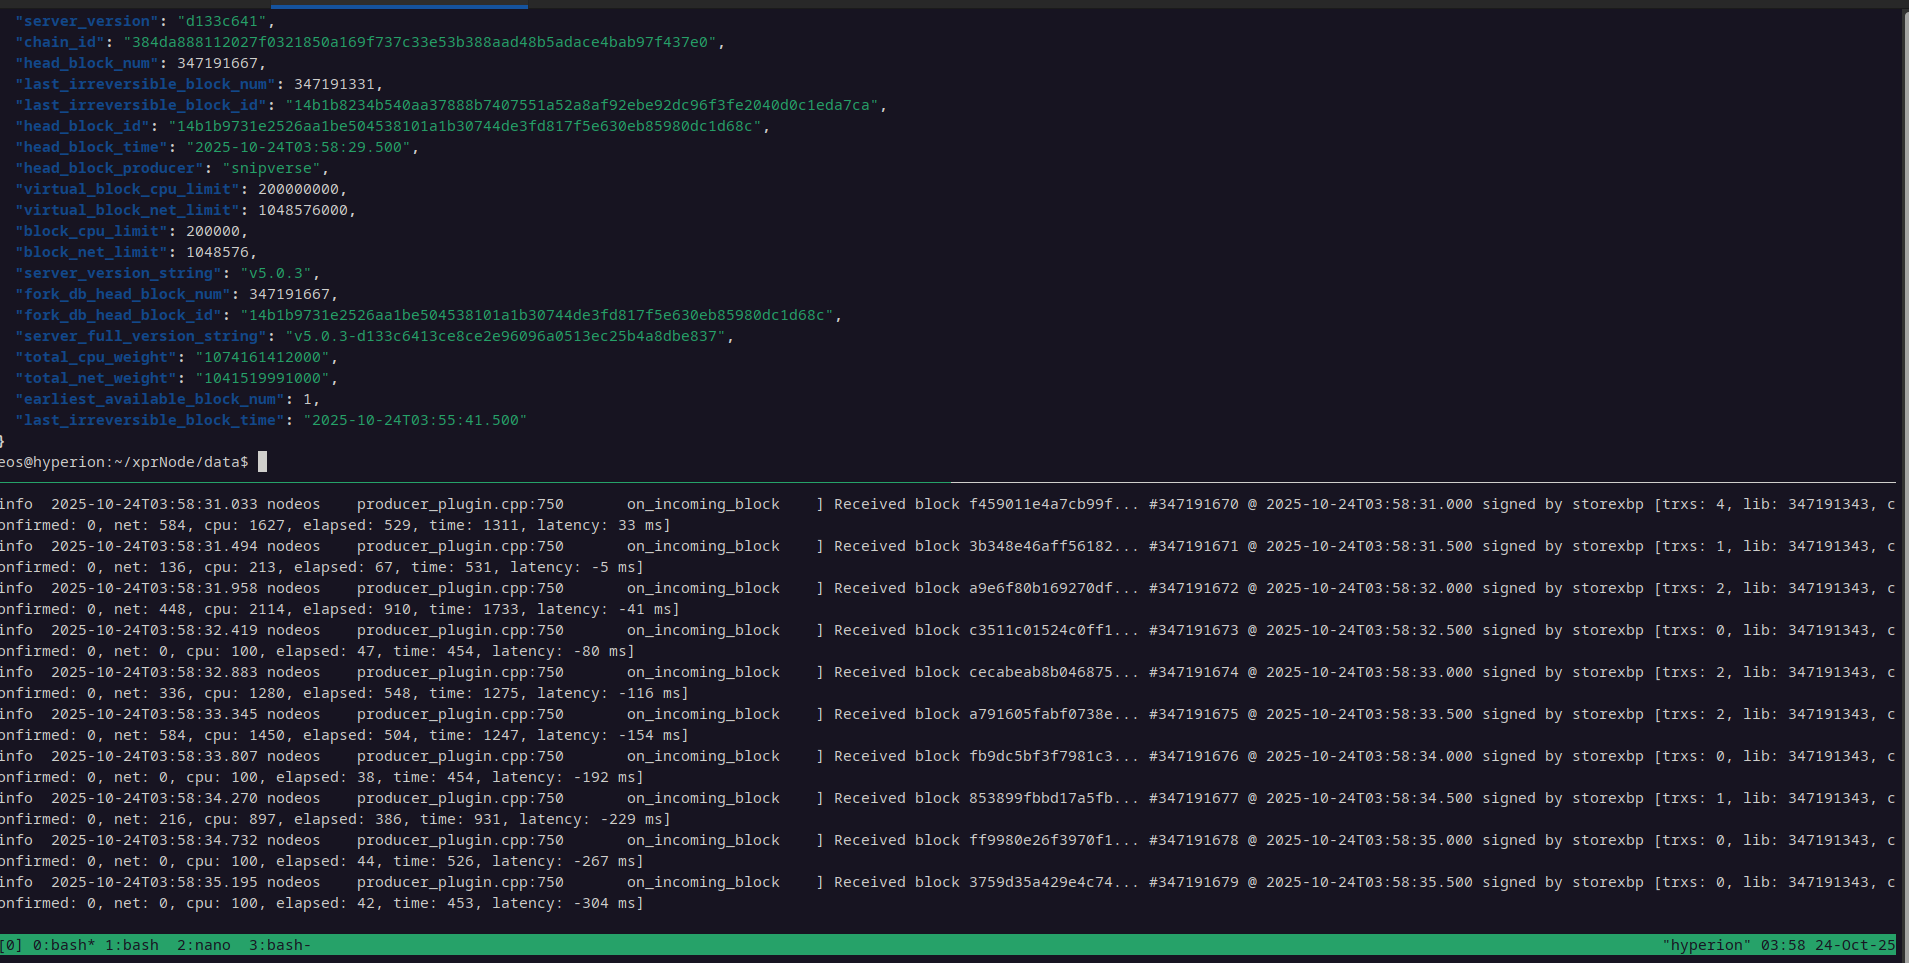
Ultimately, once synced, you want to query get_info via the api on 127.0.0.1:8000 and make sure the first available block is 1:
curl -k http://localhost:8888/v1/chain/get_info
{
  "server_version": "d133c641",
  "chain_id": "384da888112027f0321850a169f737c33e53b388aad48b5adace4bab97f437e0",
  "head_block_num": 347190879,
  "last_irreversible_block_num": 347190551,
  "last_irreversible_block_id": "14b1b517f24dab92b00c097c41f5c887d9b9ee290eddb6cefd8253d69b24ea6f",
  "head_block_id": "14b1b65f92f0e8f5e48c732e6687806a2caf4b3cc022ad18ba2ed1bf36aae1bb",
  "head_block_time": "2025-10-24T03:51:55.500",
  "head_block_producer": "saltant",
  "virtual_block_cpu_limit": 200000000,
  "virtual_block_net_limit": 1048576000,
  "block_cpu_limit": 200000,
  "block_net_limit": 1048576,
  "server_version_string": "v5.0.3",
  "fork_db_head_block_num": 347190879,
  "fork_db_head_block_id": "14b1b65f92f0e8f5e48c732e6687806a2caf4b3cc022ad18ba2ed1bf36aae1bb",
  "server_full_version_string": "v5.0.3-d133c6413ce8ce2e96096a0513ec25b4a8dbe837",
  "total_cpu_weight": "1074161312000",
  "total_net_weight": "1041519891000",
  "earliest_available_block_num": 1,
  "last_irreversible_block_time": "2025-10-24T03:49:11.500"
In the next post of this series on setting up a Hyperion history node for Proton Chain, aka XPR Network, I'll run through installing and configuring all of the required components. This information is out there, but the only known, complete guild is a PDF file that is at least five years old. Fortunately, Hyperion has descent instructions for this process. However, as I mentioned, the official instructions for the proton chain are somewhat outdated, thus I've been pouring over documentation for and asking a lot of questions in the block producer telegram channel.
At the moment I am pretty close to initiating the index process for my node. After I tie up a few lose ends and confirm I've got everything right, I will retroactively retrace my steps and document them in my next blog post. Thanks for reading.