Becoming a Near Validator

Our companies next project is becoming a NEAR validator, so I will be documenting that process. There is currently a "Staking Wars" challenge going on. Those whom win will become validators and may even receive the NEAR that they will be staking.
Before I begin documenting the process, I would like to draw your attention to some things that initially confused me. Don't follow these instructions. Rather, follow these instructions:
https://github.com/near/stakewars-iii/blob/main/challenges
The former link talks about using either the testnet or guildnet when you should in fact be using the shardnet. I didn't initially understand this and so I had to redo the entire thing.
The first thing you need to do is get a server. The specifications are as follows:
| Hardware | Recommended Specifications |
|---|---|
| CPU | x86_64 (Intel, AMD) processor with at least 8 physical cores |
| CPU Features | CMPXCHG16B, POPCNT, SSE4.1, SSE4.2, AVX |
| RAM | 16GB DDR4 |
| Storage | 1TB SSD (NVMe SSD is recommended. HDD will be enough for localnet only) |
Pretty much any modern CPU will have those features so what you should pay particular attention to is the RAM, cpu cores, and storage space. I would recommend using either Debian or Ubuntu for an operating system.
After you have got a server up and running, you can get your test network node up and running. The first thing, as always you ought to do after setting up your ssh keys is update the system.
sudo apt update && sudo apt -y upgradeAfter the system is up to date, the first step is to install nodejs. There are several ways of doing this, but I opted to download the binaries because the version 17.xx is specified. I downloaded the latest 17.xx binary from the directory, hosted here: https://nodejs.org/dist/v17.9.1/
Next, we need to install it. Extract the binaries and then copy them to somewhere and add it to your system path.
tar -xf *.xz
node-v17.9.1-linux-x64.tar.gz
node-v17.9.1-linux-x64 /usr/local/lib/node/nodejs
cat < _EOF_ >> ~/.profile
export NODEJS_HOME=/usr/local/lib/node/nodejs
export PATH=$NODEJS_HOME/bin:$PATH
_EOF_
Note: ensure that `.profile` is being loaded with your `.bashrc`. If not just add a line to your ~/bash_rc:
source ~/.profileNext, we need to install near-cli. It's very simple:
sudo npm install -g near-cliThen confirm that it is working:
near validators current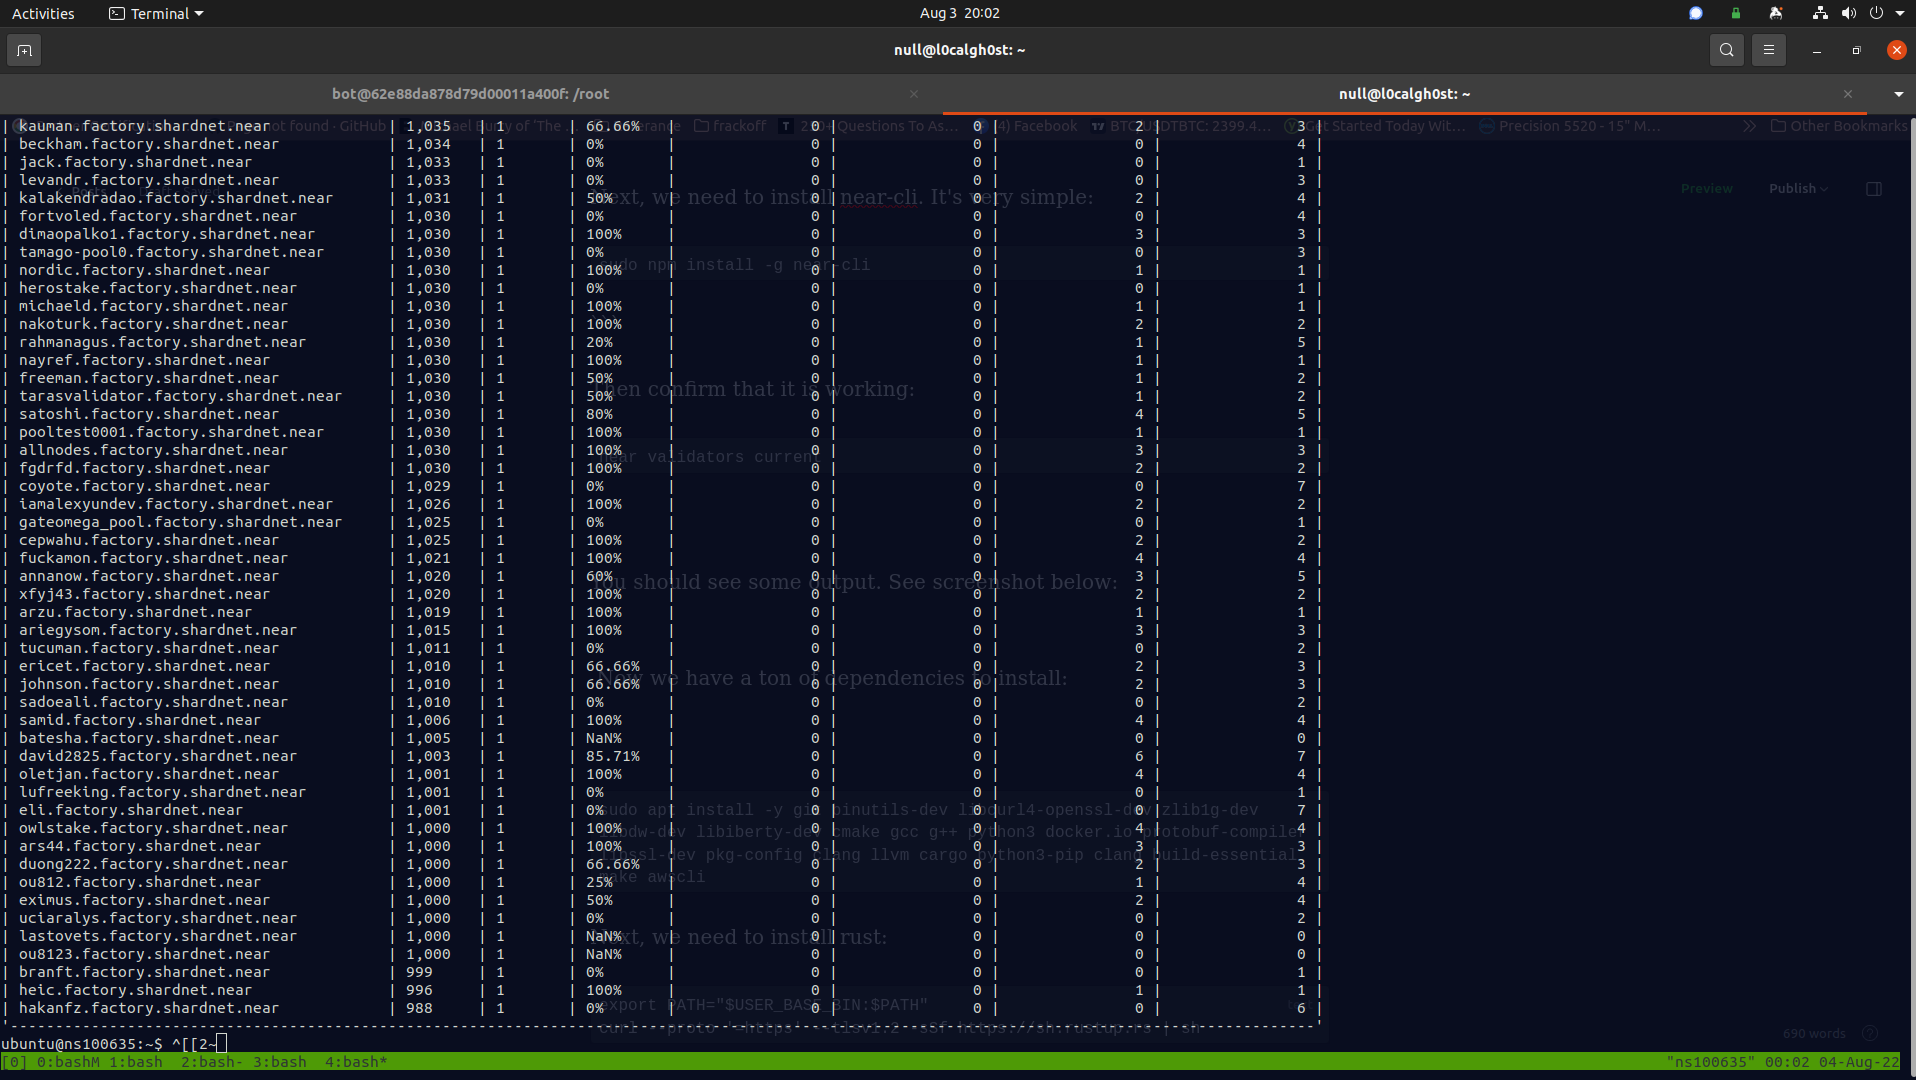
You should see some output. See screenshot above. Now we have a ton of dependencies to install:
sudo apt install -y git binutils-dev libcurl4-openssl-dev zlib1g-dev libdw-dev libiberty-dev cmake gcc g++ python3 docker.io protobuf-compiler libssl-dev pkg-config clang llvm cargo python3-pip clang build-essential make awscli ccze jqNext, we need to install rust:
export PATH="$USER_BASE_BIN:$PATH"
curl --proto '=https' --tlsv1.2 -sSf https://sh.rustup.rs | sh
And then near-core – I just went with the latest version available.
source $HOME/.cargo/env
git clone https://github.com/near/nearcore
cd nearcore
git fetch origin --tags
git checkout tags/1.28.0-rc.3 -b mynode
make neard
After it's successfully installed, we need to set it up and then run it:
./target/release/neard --home ~/.near init --chain-id testnet --download-genesisWhen that completes, we need to replace the configuration file:
rm ~/.near/config.json
wget -O ~/.near/config.json https://s3-us-west-1.amazonaws.com/build.nearprotocol.com/nearcore-deploy/testnet/config.json
Finally we need to download the latest snapshot from ec2:
aws s3 --no-sign-request cp s3://near-protocol-public/backups/testnet/rpc/latest .
LATEST=$(cat latest)
aws s3 --no-sign-request cp --no-sign-request --recursive s3://near-protocol-public/backups/testnet/rpc/$LATEST ~/.near/data
When that is complete, we can start up the node and let is synchronize with the network:
cd nearcore
./target/release/neard --home ~/.near run
After it is synced up (which should not take very long), lets configure near daemon to run as service:
cat << __EOF>> >/etc/systemd/system/neard.service
[Unit]
Description=NEARd Daemon Service

[Service]
Type=simple
User=<USER>
#Group=near
WorkingDirectory=/home/<USER>/.near
ExecStart=/home/<USER>/nearcore/target/release/neard run
Restart=on-failure
RestartSec=30
KillSignal=SIGINT
TimeoutStopSec=45
KillMode=mixed

[Install]
WantedBy=multi-user.target

__EOF__

sudo systemctl enable neard
sudo systemctl start neard
sudo systemctl reload neard
# test log functionality
journalctl -n 100 -f -u neard | ccze -A
Now we need to create a wallet and then a staking pool.
To create a wallet, head over to https://wallet.shardnet.near.org/. Then you need to login. Simply run:
near loginOpen that link in the same browser as the one in which you created and are signed into your wallet. It will look as if it didn't work, but it did:
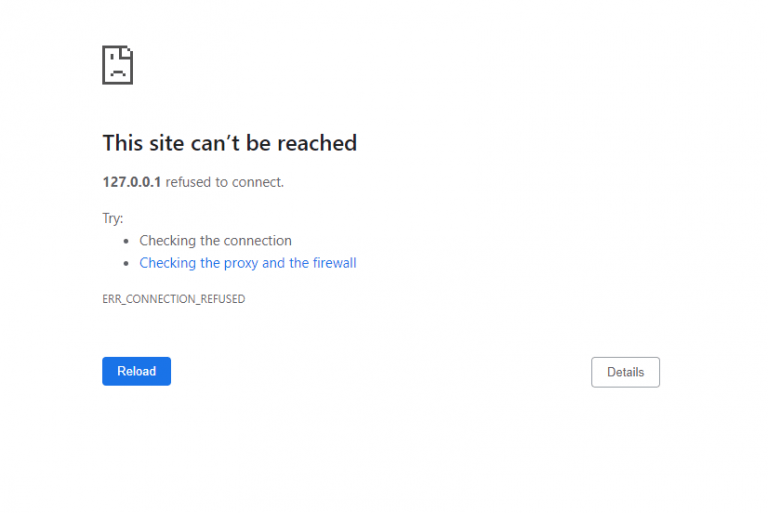
Finally, type in the name of your account (you.shardnet.near) and then you should be good.
You probably need to generate a validator key next. Pick a name for your staking pool. I called mine simply "luminaryvision" which is what my username is. Then you need to copy it to correct directory:
near generate-key <pool_id>
cp ~/.near-credentials/shardnet/YOUR_WALLET.json ~/.near/validator_key.json
This is the command that I ran to do so:
near call factory.shardnet.near create_staking_pool '{"staking_pool_id": "luminaryvision", "owner_id": "luminaryvision", "stake_public_key": "ed25519:76R8JC14uVckoEJbX13rww5RmZ6GXoKcQtY6mr3ZxTHA", "reward_fee_fraction": {"numerator": 1, "denominator": 100}, "code_hash":"DD428g9eqLL8fWUxv8QSpVFzyHi1Qd16P8ephYCTmMSZ"}' --accountId="luminaryvision.shardnet.near" --amount=2048 --gas=300000000000000Now in this example:
- "luminaryvision" is the name of my pool as well as my account name
- The field starting with "ed25519" is my public key.
- The numerator field which I set to 1 is
- Account_id is your account's id (duh)
- The gas is the fee you want to pay for this tx.
Afterwards, you need to send a "ping" transaction:
near call luminaryvision.factory.shardnet.near ping '{}' --accountId luminaryvision.shardnet.near --gas=200000000000000If that goes through, then we are almost done! The last thing that this guild will show you is how to check your node to ensure it is configured correctly. Start by looking at your logs:
journalctl -n 100 -f -u neard | ccze -ANext, you can check the version of your node by querying the RPC server:
curl -s http://127.0.0.1:3030/status | jq .versionHere are some useful commands and their explanations:
near view luminaryvision.factory.shardnet.near get_accounts '{"from_index": 0, "limit": 10}' --accountId luminaryvision.shardnet.near # check stake and delegation
curl -s -d '{"jsonrpc": "2.0", "method": "validators", "id": "dontcare", "params": [null]}' -H 'Content-Type: application/json' 127.0.0.1:3030 | jq -c '.result.prev_epoch_kickout[] | select(.account_id | contains ("luminaryvision.factory.shardnet.near"))' | jq .reason  # if a validator is kicked, this will tell you why
curl -r -s -d '{"jsonrpc": "2.0", "method": "validators", "id": "dontcare", "params": [null]}' -H 'Content-Type: application/json' 127.0.0.1:3030 | jq -c '.result.current_validators[] | select(.account_id | contains ("POOL_ID"))' # check produced vs expected blocks
At this point you should be able to see your node on the list of validators:
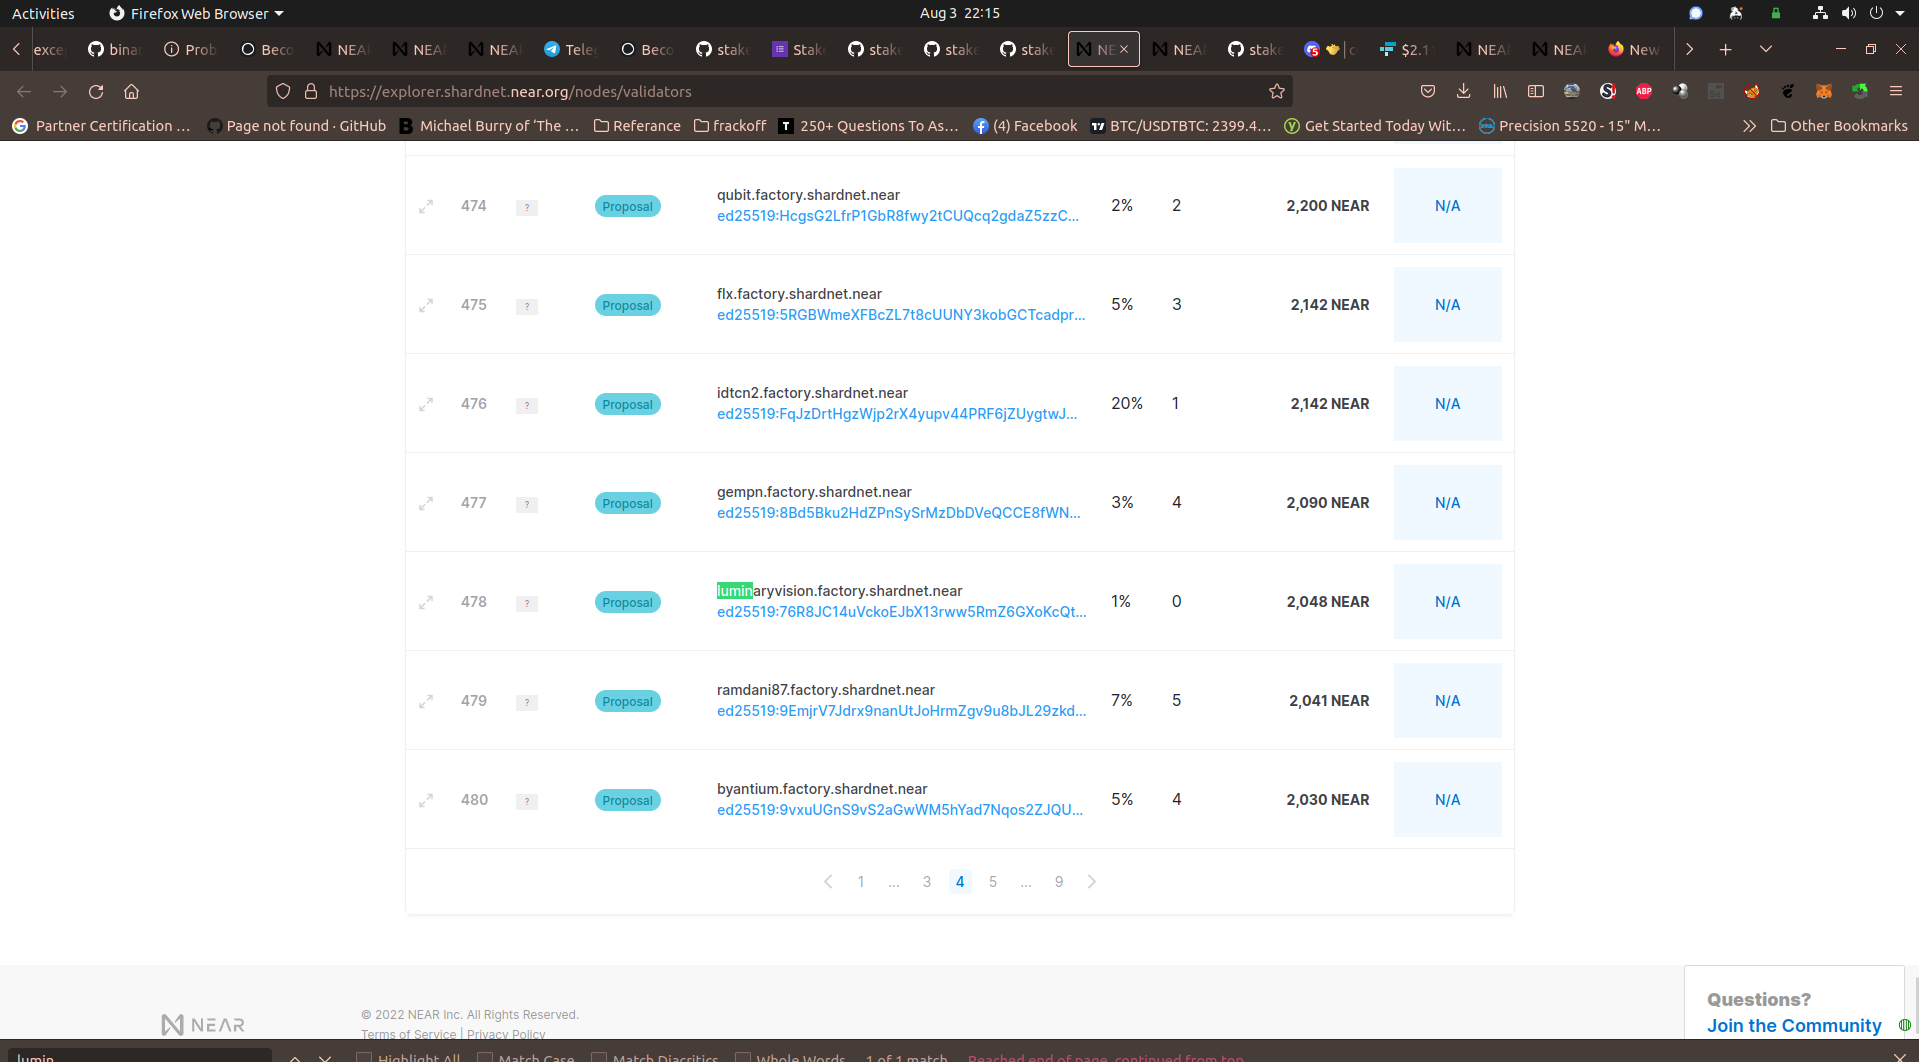
If so, congrats! We have reached the end of the tutorial. One last thing – be sure to watch for new pinned posts in the stake wars channel of the discord community.
One final thought is you should put your kernels governor into performance mode:
$ echo performance | sudo tee /sys/devices/system/cpu/cpu*/cpufreq/scaling_governor
performance
I hope you found this helpful or interesting.